
Whew. Repairing and repairing our deck was a huge undertaking that took a lot of blood, sweat and tears. Above is after all the TLC and I couldn’t love it more.
But let’s go back in time and I’ll share the home improvement process. It was painted in dark brown and the original dark color burned our feet in hot weather.


Not sure when it was last painted but after 2 years of wear and tear from us it was showing signs of needing some SOS.

Was it painted or stained? The peeling tells me it was originally painted. Stain gets absorbed and paint can peel.
We had some general contractors look at the deck who all pronounced it structurally sound but were happy to sell us a new one. It passed inspection just 2 years ago with the sale too so we decided on TLC not rebuilding.

That meant me doing the TLC. First I marked the worst boards with painters tape (as if I would overlook it).

Next I used all of the following to scrape up debris between the boards: scissors, assorted flat head screwdrivers, an ice pick and a putty knife.
Lots of tree debris, leaves and a few bugs. Pretty gross. I kept my shopvac running and was suctioning as I went kinda like the hygienists when you get your teeth cleaned!!!!

I purchased a “grab it” for stripped nails and a few spare pressure treated boards. I wanted to work with the boards we had as much as possible. Removal was proving to be difficult and if not necessary I didn’t want to do that. Plus new pressure-treated lumber has to wait six months before you can paint it!

This is an example of an area scraped clean between the boards and vacuumed. I also scraped or sanded the top of the boards if needed and added any additional deck screws needed.

I purchased porch, floor and patio latex paint in Light Gray.

This is after the first coat of paint. Yes…..the first. As in it’s taking more than one. I brushed on the paint with a 2 ” angled brush because it’s my favorite and gave me control.
I did buy a roller with an extension pole but honestly didn’t use it. I like to work the brush sideways so the paint would seep into the books and crannies without oozing between the boards. The paint really freshened up the boards to a like new appearance.
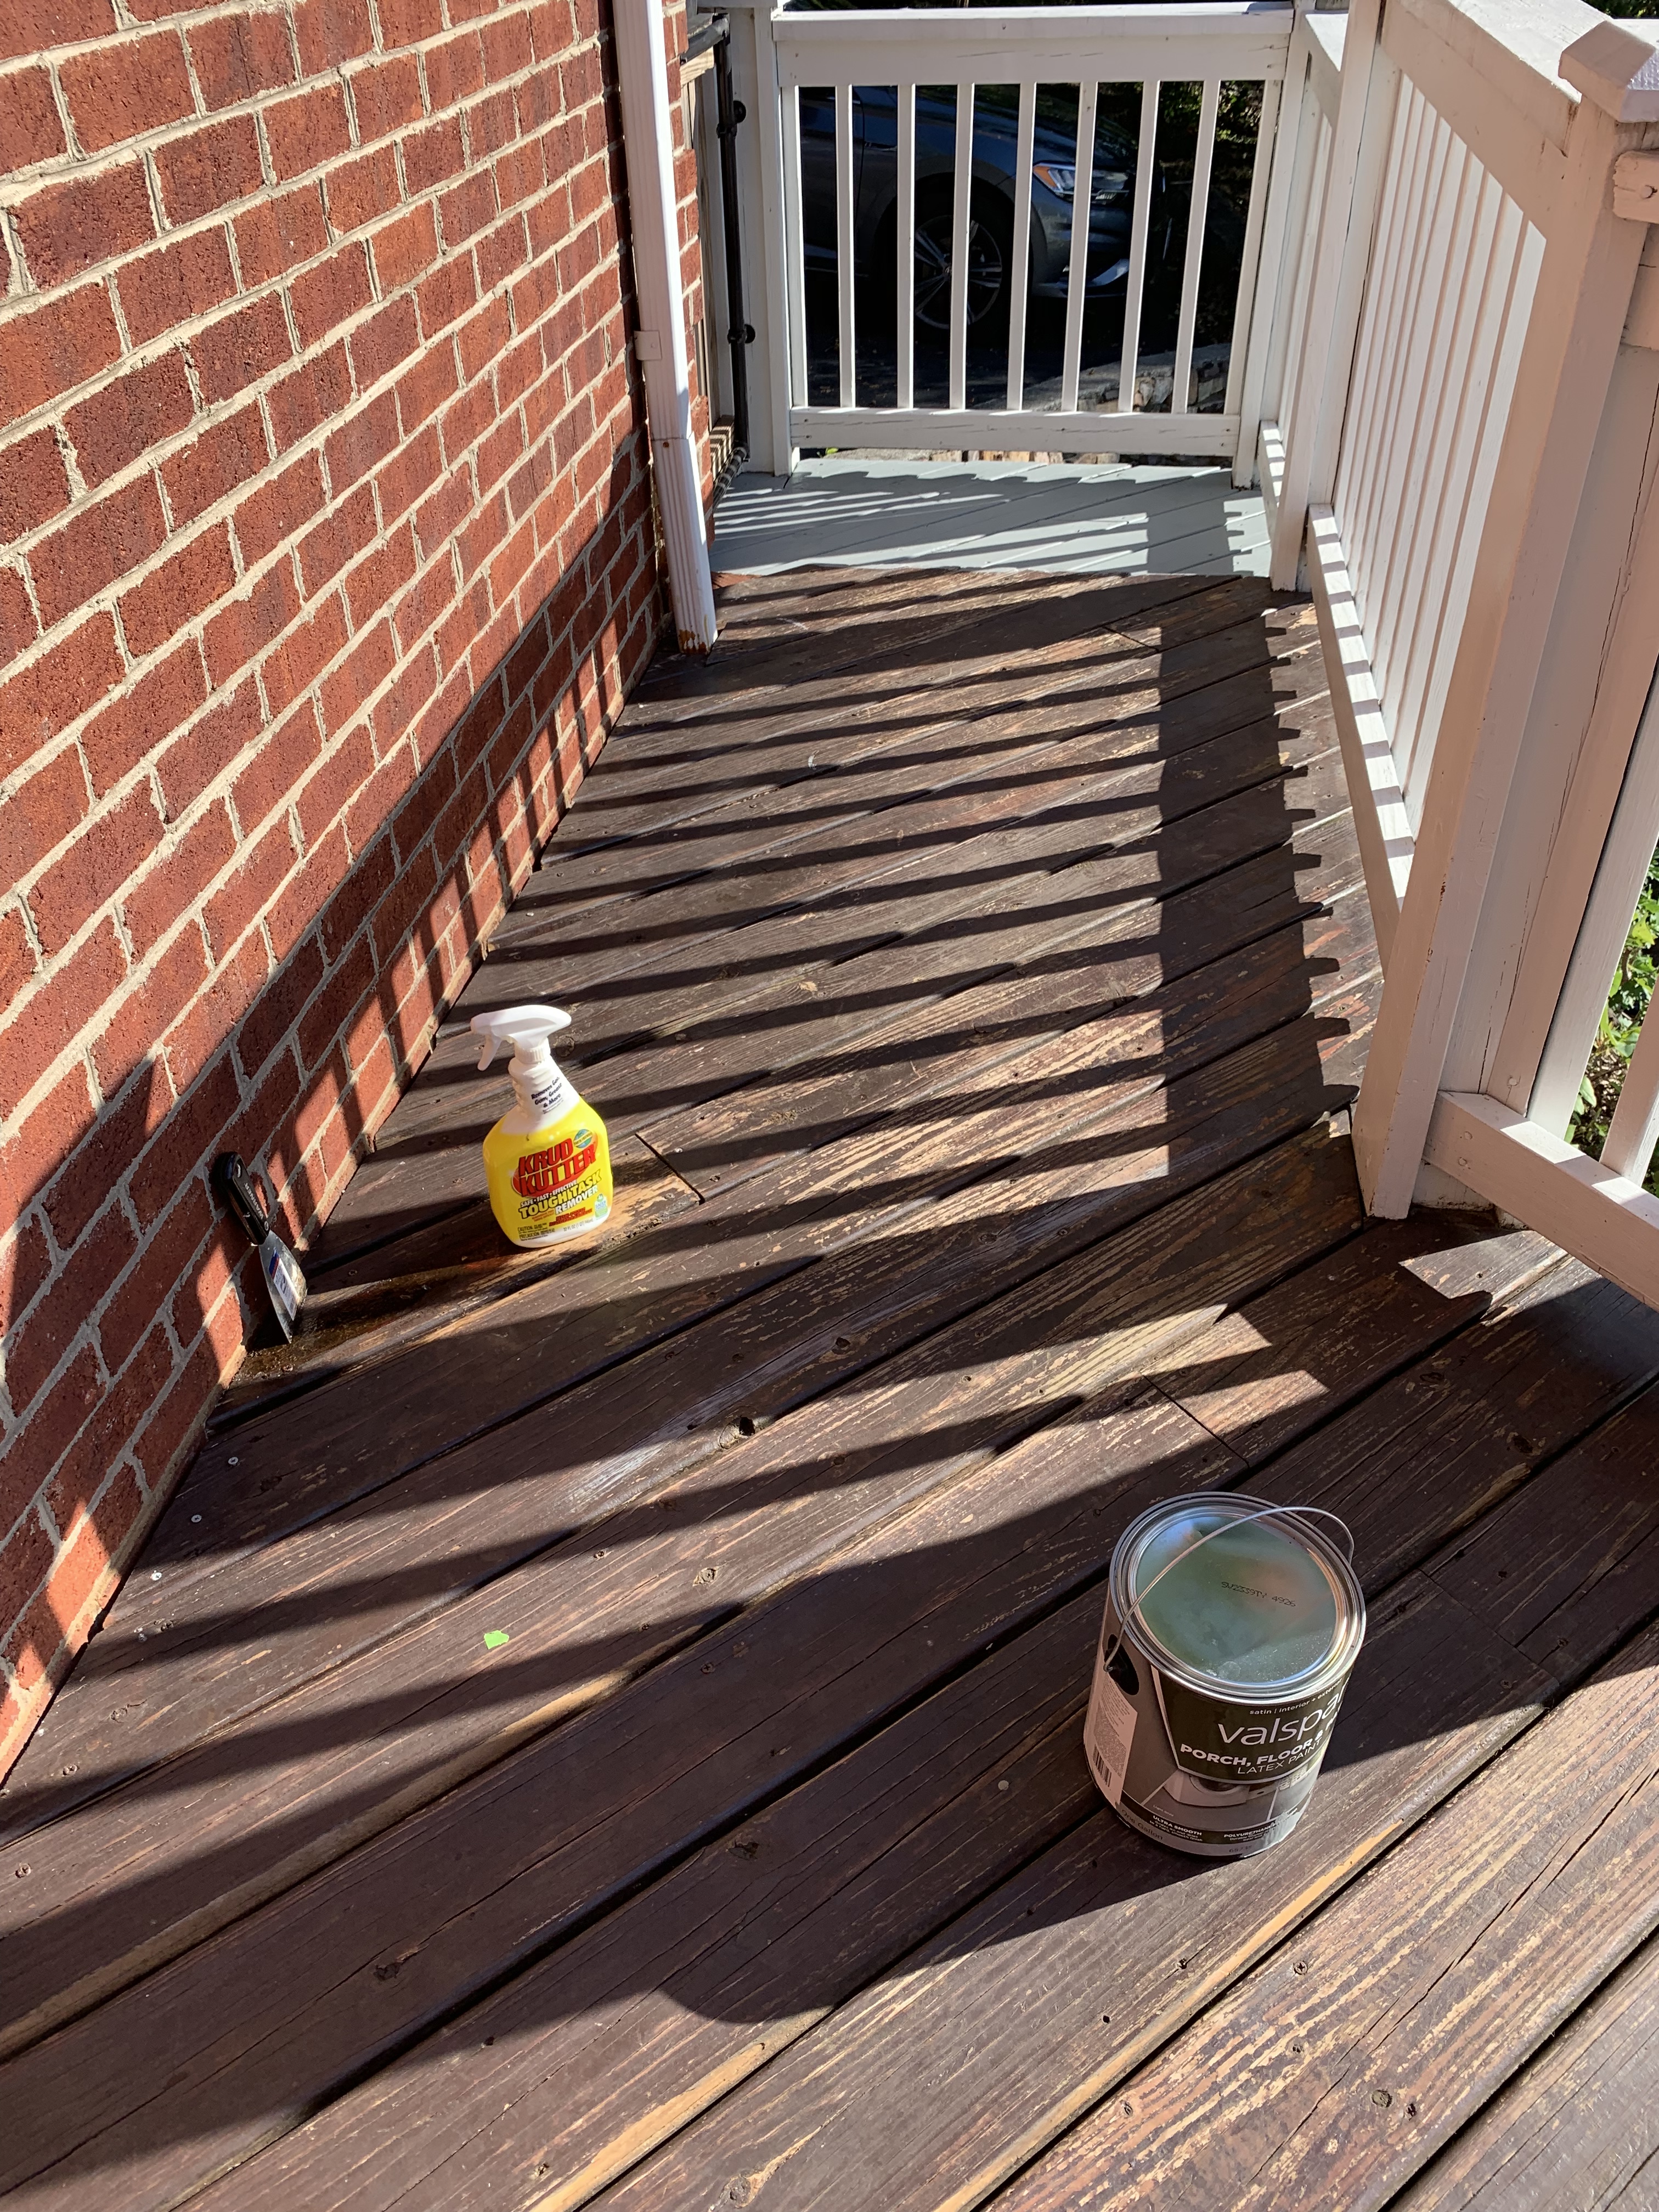
Prepped the walkway except the board with the yellow bottle on it. There was a crazy amount of sap coming out of the board that wouldn’t scrape off. I squirted Krud Kutter on it to see if that could loosen it up and it did.

One coat done in that section. None of the boards had to be pulled out. I do have a few in question that I may rip out in the spring. I think I’ll let the fresh boards dry out in the garage over the winter.

I worked section by section vacuuming the debris from the cracks, adding any additional screws, sanding as needed and painting 2 coats.

I can’t tell you how happy I was to finish this big job!

Once the paint was dry I was able to put everything together at last! I bought a huge 9×11 patio mat from Walmart last year that really anchored the space and will hopefully preserve my paint job.

Wayfair had deeply discounted outdoor furniture so I bought and assembled this 5 piece set. Best part? Inside the coffee table and end table we can store the cushions in a water proof liner!

The final touch was to add lights. Everything is better with lights, right? Harbor Freight runs sales and I snagged these outdoor lights for $18.99 a strand. There are 12 bulbs 24 feet long and available in black or white. I bought 3 strands in black and nailed them to the outside of the deck railing.

I plugged the extension cord into our outdoor light timer for the driveway. The magical deck lights come on and turn off with the driveway lighting without us having to do a thing. Love when things actually work out!
Thinking about repainting your deck? For what it’s worth here’s the process I followed and it worked for me. It’s not awful but I won’t lie- it is a lot of work.
This is proof that it’s totally worth it though. Here’s to some outdoor living -Kristen
Leave a Reply