In our Virginia home you are immediately greeted by stairs when you open our front door. It’s the first thing you see. The first impression and for me the oak feels outdated.
Don’t get me wrong, I like oak for flooring and even kept it on our mantle but a black hand rail black is more in line with our style and modernizes the stair case without spending thousands of dollars for new railings. Trust me I want to -but I can’t- so paint it is!!!

Here’s the view from the front door. Hello stairs.

Sanding is your first step. I just hand sanded off the polyurethane gloss finish on the hand rail.

Next use a degreaser to wipe down the wood. I like Krud Kutter from Walmart. Low odor and I just spray on and wipe off with a microfiber cloth. Easy as can be!

This next step is the most time consuming. Taping takes forever and ever. I’m so thankful my balusters are already white because if they were oak I’d be painting them all. I’m happy with a black and white look so I’m taping the tops of the balusters with frog tape to protect them. It is NOT my intention to paint them at all. I just want to Mr Clean each one when finished. You know if you paint just one it will stand out and next thing you know….

Now that everything is sanded, deglossed and dry it’s time to prime. I used Extreme Primer from SW. it says it’s good for lacquered wood so I figure that will make it extra safe to prime with even though I scuffed up the prior coat of poly.

I ran drop cloths down each side of the stairs to avoid primer or black paint dripping on the carpet. You should not have drips or runs because you want to apply the primer and paint in sheer coats.
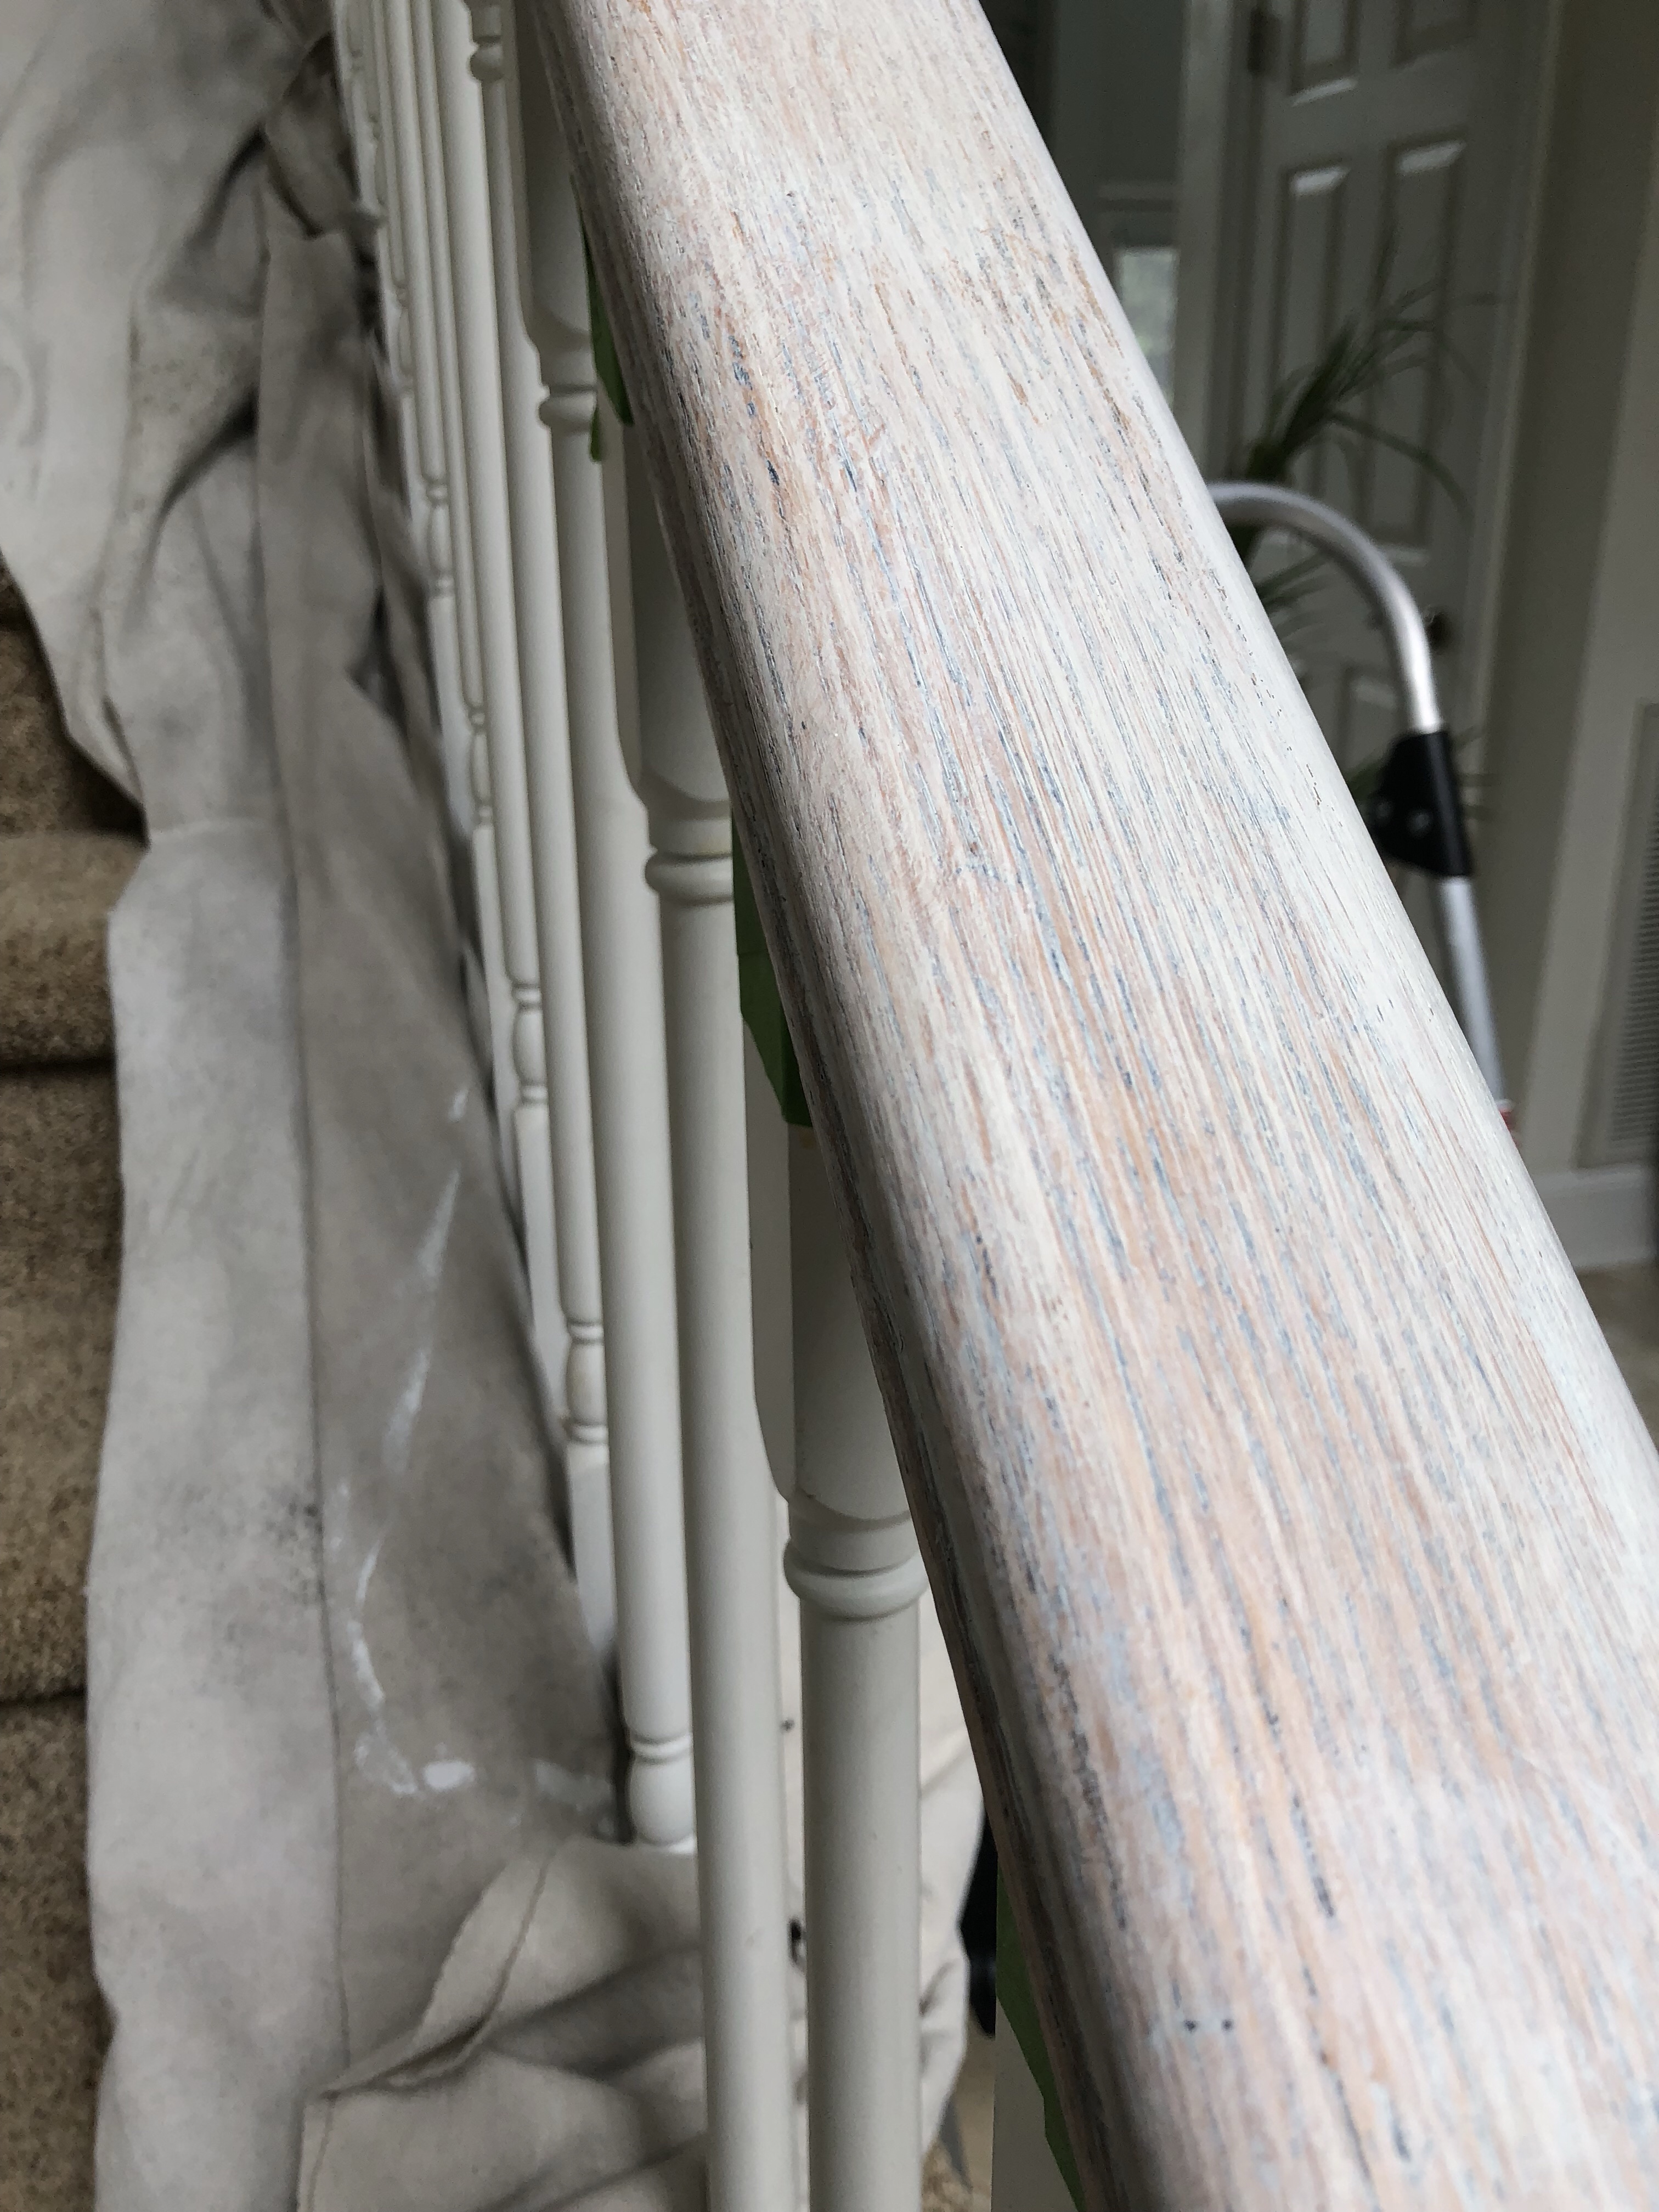
This is a photo of the primed wood. It’s just a sheer dusting of primer to help grip your paint.

The first section is primed, dry and ready for paint. I decided to work on one section at a time. I completed all steps from sanding to paint on that section before moving onto another chunk of railing. I have to be able to access both sides of the railing as well as underneath so there is extensive ladder work for the 2nd story railings.

This is 2 sheer coats of black gloss. Let that dry for a few hours.

Touched up, removed tape and that section was complete!

The next section I prepped was at the top of the stairs. I worked my way up and around as you would walk upstairs.

Woo hoo. The stair hand rail or banister is completed along with the newel posts.

Loving the high gloss!
 I worked on one section throughout the day to allow for drying times.
It held up beautifully and the black and white contrast was sharp! Later I removed the carpet and refinished the treads with black gel stain for more black and white beauty. (There’s another blog on that)
If you are thinking about painting your handrails it’s not difficult at all.
Happy painting ~ Kristen
Leave a Reply